CustomDesktop
The beginning
Midway through my college career I finally found what I wanted to do for my career and that was Computer Science in gaming. It was the idea of creating living stories that you could experience and not just watch. There were a bunch of inspirations through my life time such as Pokémon, Sly Cooper, Assassin’s Creed, The Witcher series and more. This new-found career choice based off of my all-time favorite hobby of gaming (Big surprise). I knew that I needed something strong for a computer for later in my overall career. *Either that or just making an excuse to get a gaming computer. * This is where I thought of building my own custom desktop.
Stage 1: Planning
This was probably the most exciting step that really hyped me up for my future career plans. I however had no prior knowledge of computer hardware, because most of my gaming was primarily on consoles. So to start, I asked a friend for their experience building their own comp. and got some suggestions from them. He gave me a site called PcPartPicker which basically confirmed all the parts I wanted for a computer to work together. I also followed up on researching many of the items I was buying to see what they did and what made certain parts better than others. This planning process took me about a month to be extremely sure of what I wanted on top of checking for lowest prices for “the biggest bang for my buck”. After the planning process came the waiting process for all the parts to come in then to stage 2.
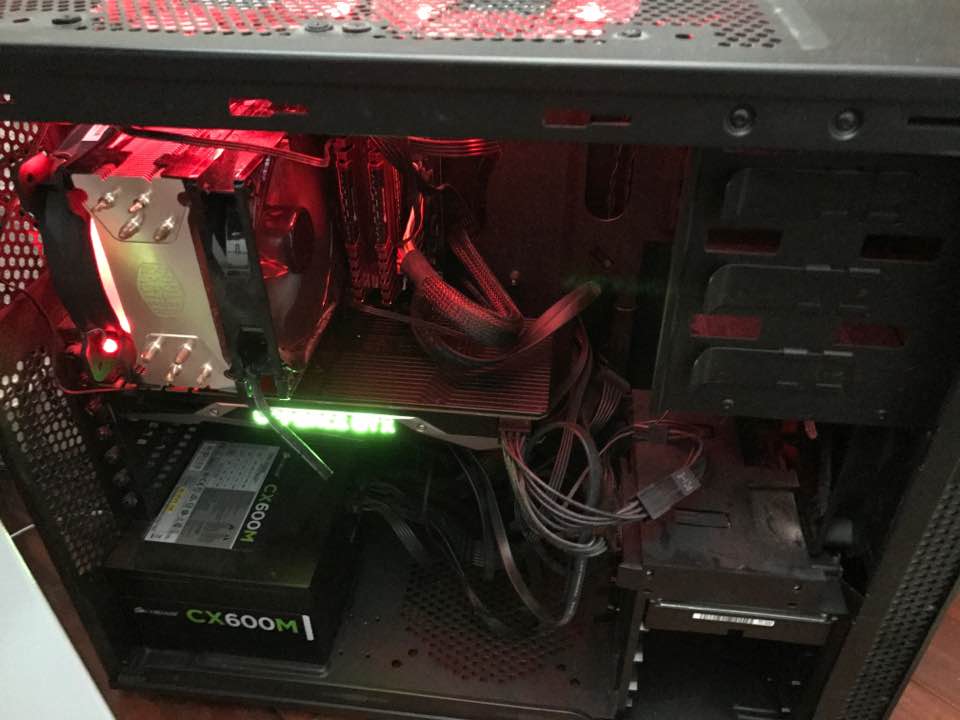
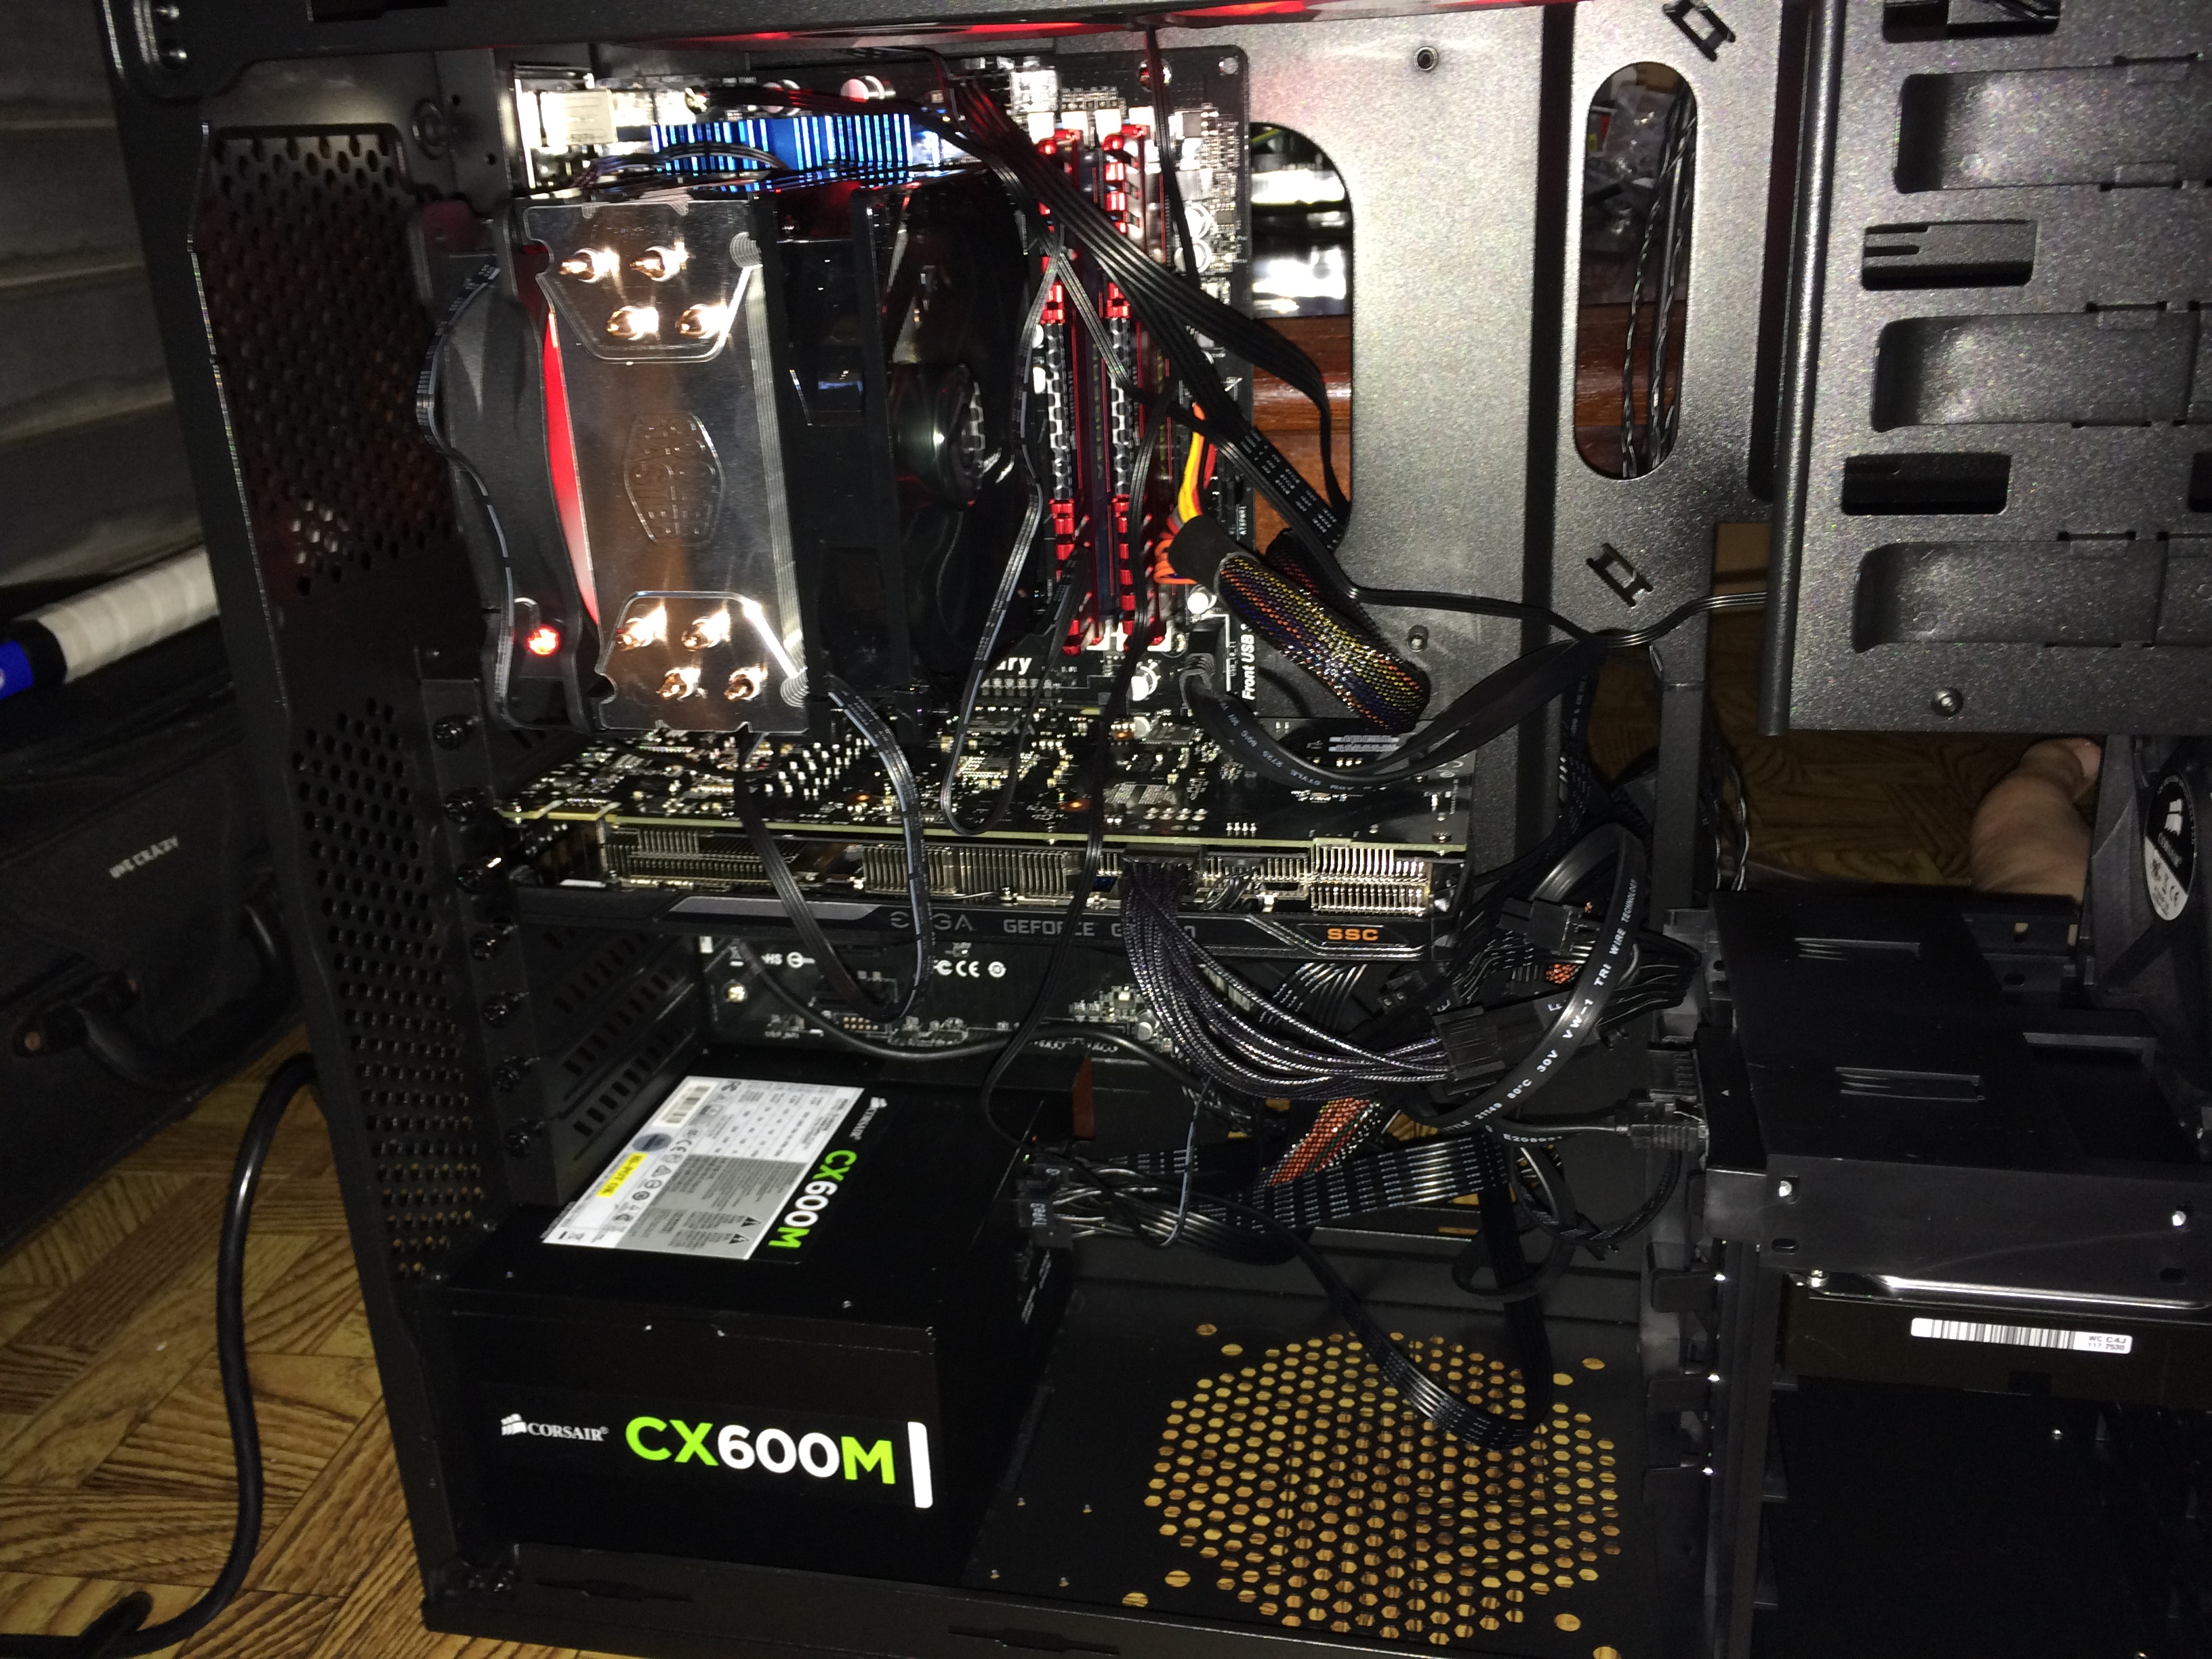
Stage 2: Build
Stage 2 was the scariest part of this whole project! Although these parts I bought were the cheapest and best I wanted for my desktop, they still costed a hefty price, compared to buying a new console also being in college doesn’t exactly put me in the best of situations on money. So each piece had to be carefully put together without any mess ups. There was one thing that I was surprised to hear when learning how to build my desktop and that was that we could destroy parts of the computer with our own bodily static shock and we needed to be grounded to not create a big enough electrical current around us. The part that was the most pressuring was the input of my CPU/Processor. This was the MOST cautioned thing in the tutorials i’ve watched. Luckily by the end of everything I got it all put together.
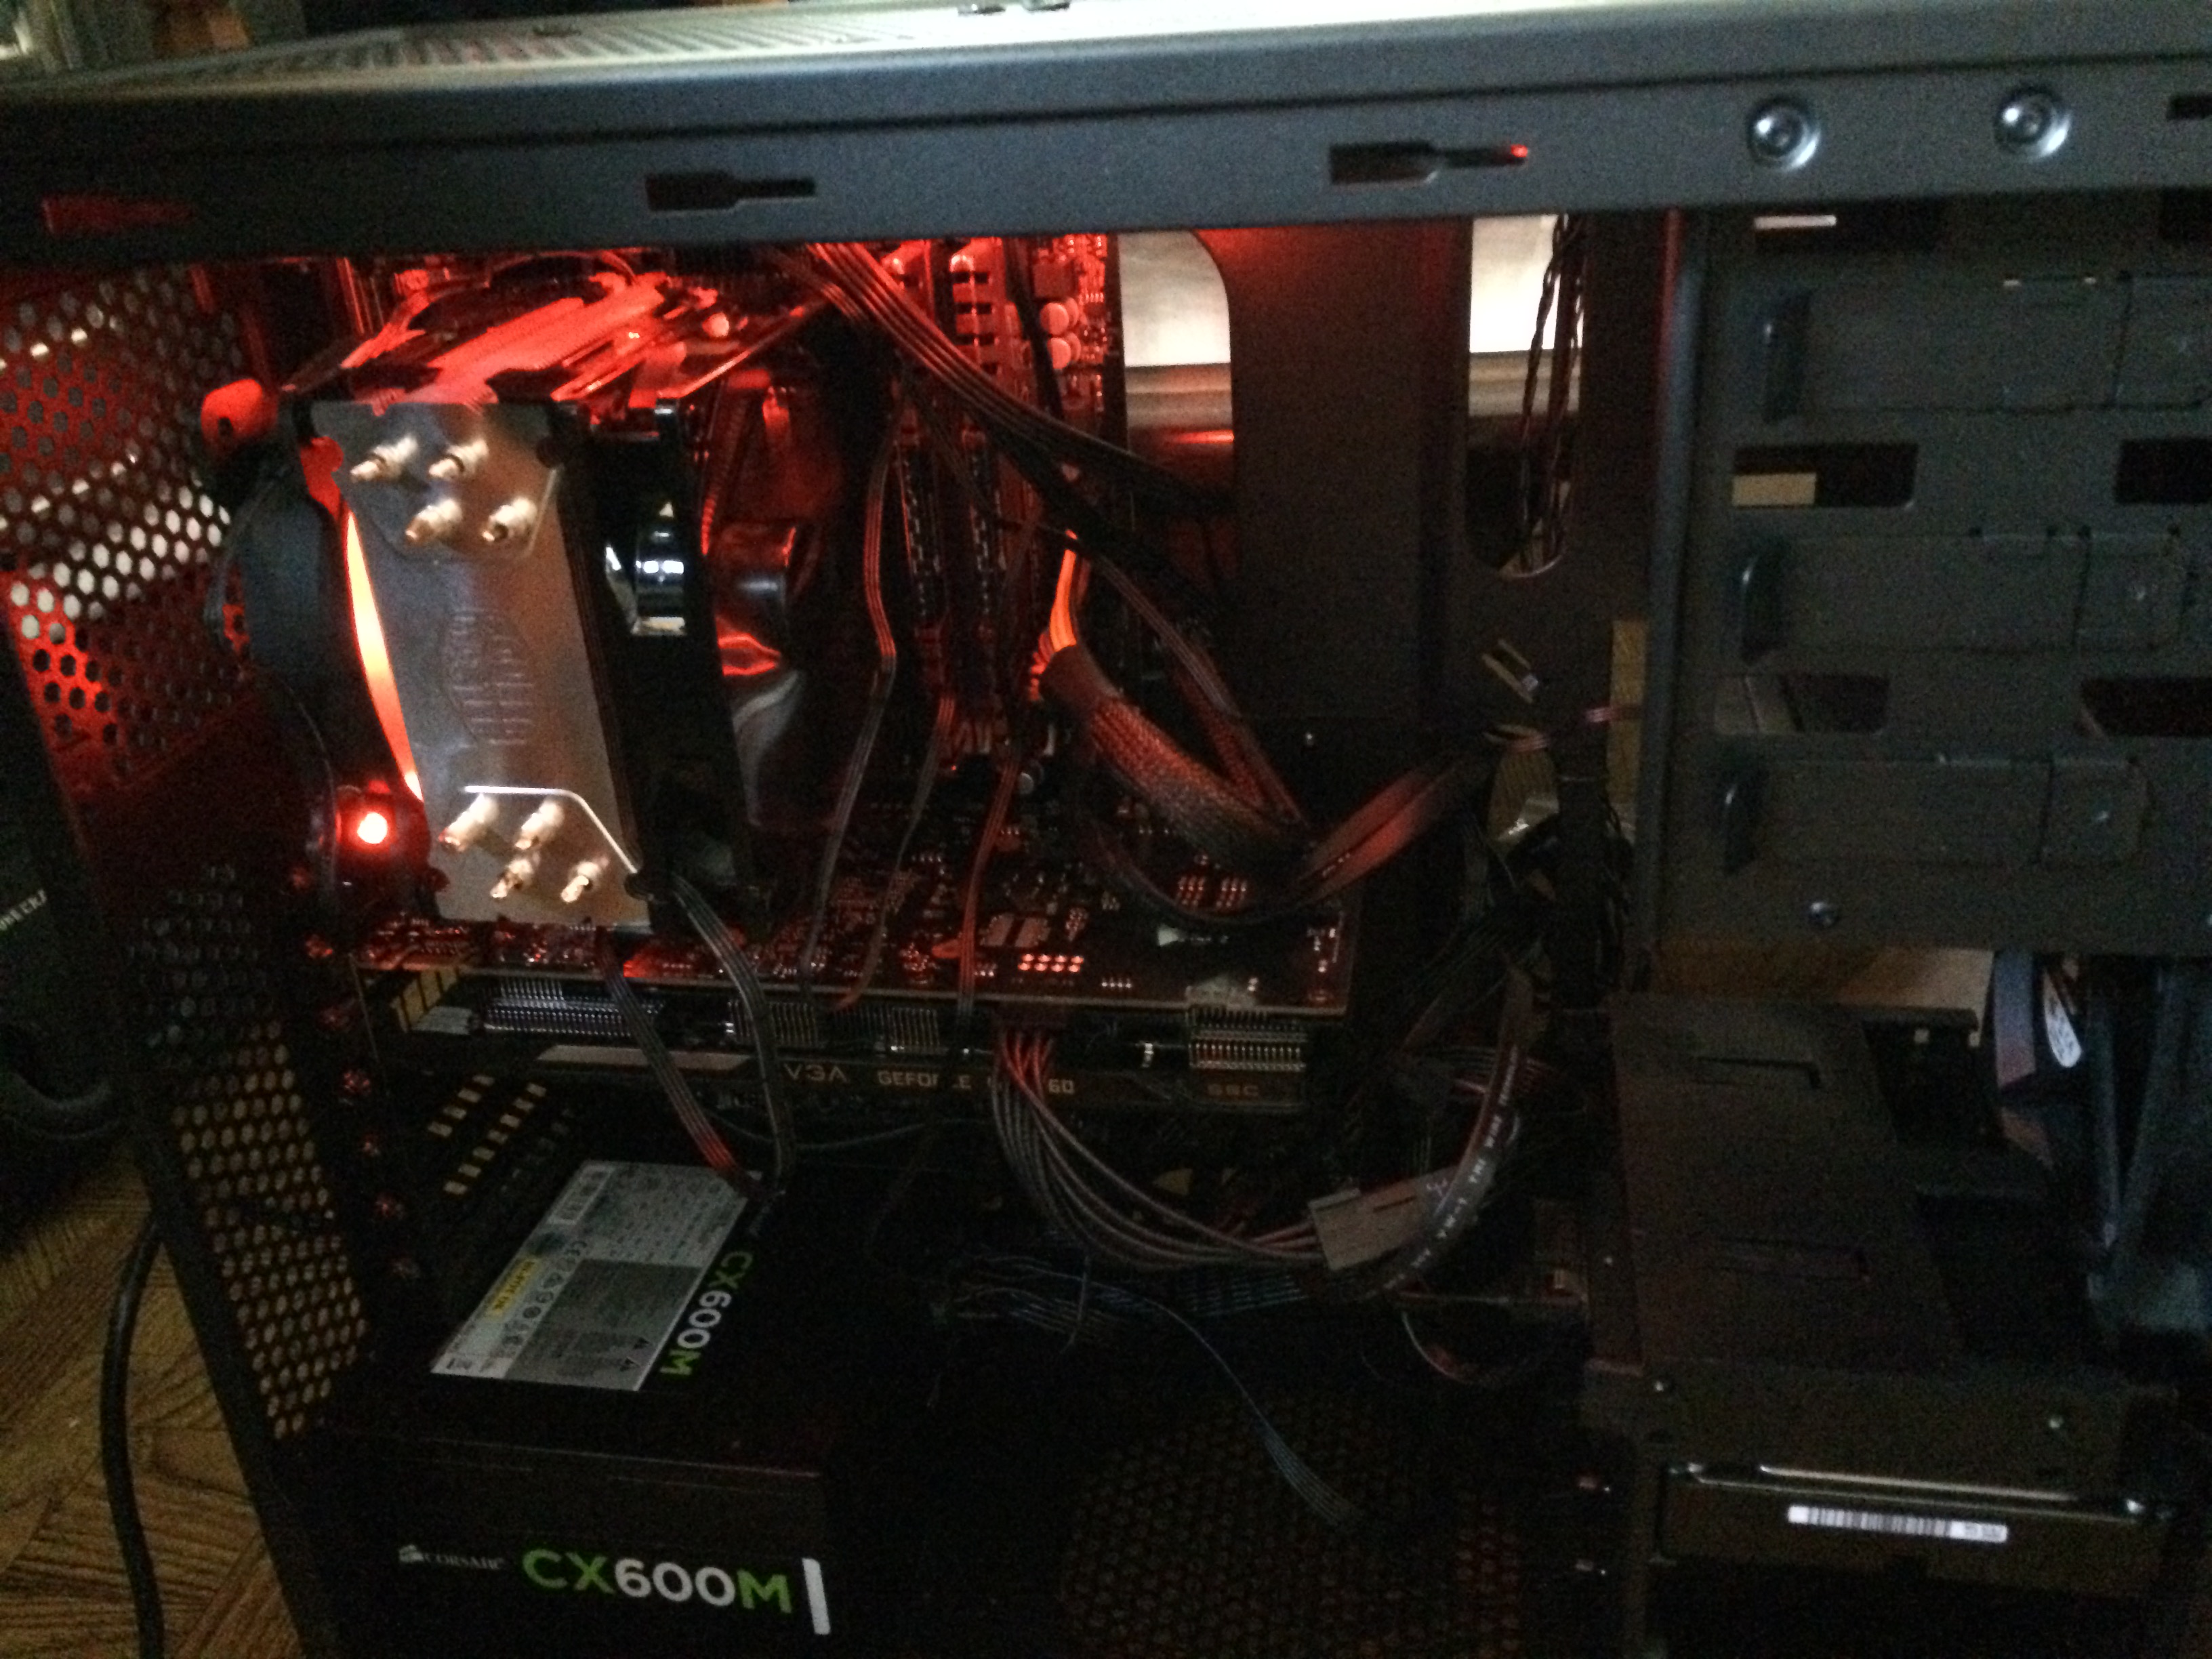
Stage 3: First Time Running
My father usually watches the car channel when they strip old cars and build them from scratch and the end product is usually always nice. Then came to the startup part of their cars, usually cutting to commercial at the high point of starting the engine. This was the exact same thing for starting up my computer. click as I pressed the power button and… BOOM it turns on and works at this point I was just glad to see I actually did everything correctly, but then everything goes south when I look at my screen and everything looks like it’s in 240p lowest of all settings and I was unsure of what to do. Luckily I had my laptop on the side of me to google up the answer. It was just updating for just about all the piece of hardware. After about 1 hour of updating everything from OS to GPU everything was finally done and I was the owner of a cool new gaming type of desktop!
Stage 4: Upgrading
As time moves on so does technology upgrades. My first hardware build was about a medium to low rate type of gaming computer. I upgraded my previous processor of intel core i5 4690k to a intel core i7 4790k and graphics card from Nvidia GTX 960 to a Nvidia GTX 1070 for better performance. These are about the highest pieces of hardware my motherboard can handle for now so I think once this computer starts falling behind in performance or causes problems way later on in the future I think I will build a whole new computer to handle even more when I establish my career job in the future.